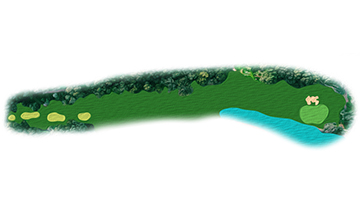
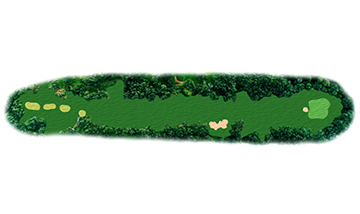
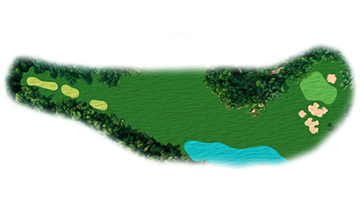
The finish of the Lalla Meryem Cup will be breath taking with an 18th hole that recurrent twists.
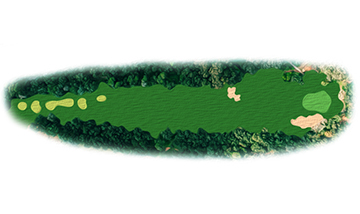
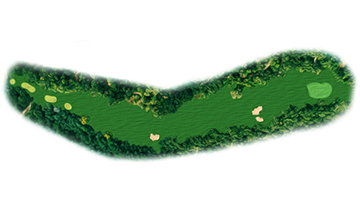
Nestled in the heart of the prestigious Royal Golf Dar Es Salam, the Blue Course is a masterpiece designed by Robert Trent Jones Sr. Shorter than its red counterpart, the Blue Course is nonetheless technically demanding.
The Blue Course has always been a combination of delicacy and challenge. However, it is not a monument frozen in time. In 2018, Cabell B. Robinson and his team of course designers added a new touch of complexity.
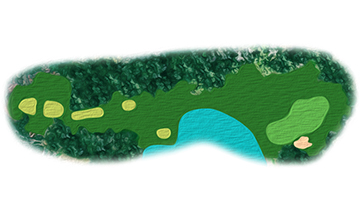
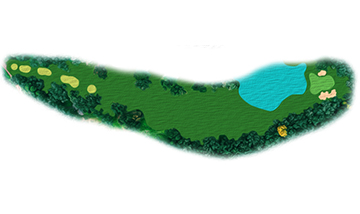
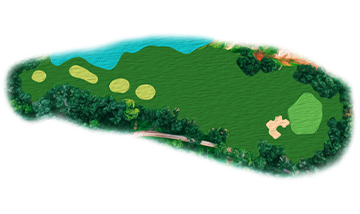
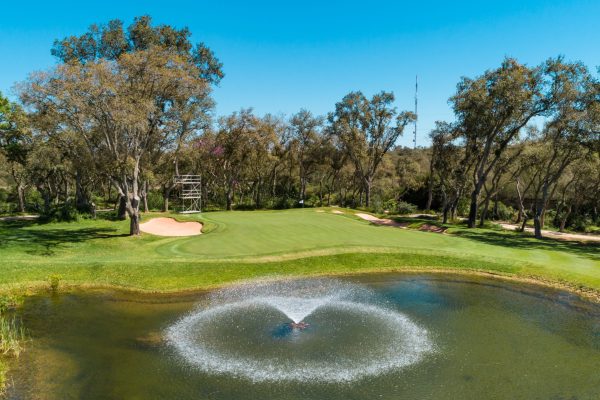
The 18th hole of the blue course offers a breathtaking finale. The addition of a fairway bunker on the left and a winding stream makes this hole more than unpredictable. While a birdie seems within reach, a double bogey lurks in the shadows, ready to keep the suspense going until the very last shot.
The Blue Course at Royal Golf Dar Es Salam, with its rich history and ability to reinvent itself, remains an exciting challenge for golfers from around the world. Its 18th hole stands ready to crown a champion and reveal the heroines of the Lalla Meryem Golf Cup.