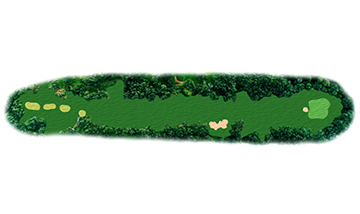
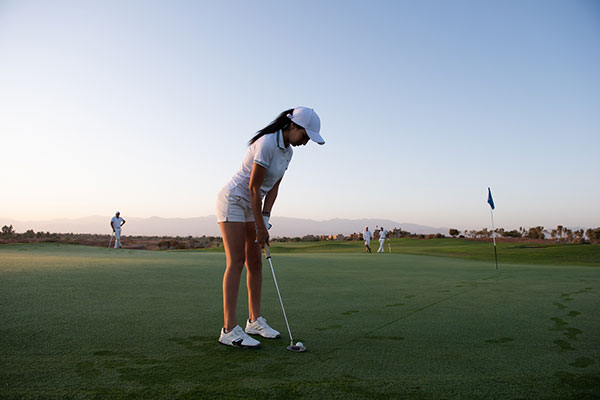
Le finish de la Coupe Lalla Meryem va être haletant avec un 18ème trou qui promet des rebondissements en série.
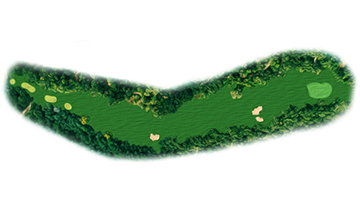
Niché au cœur du prestigieux Royal Golf Dar Es Salam, le parcours bleu se présente comme un chef-d’œuvre signé Robert Trent Jones Sr. Plus court que son homologue rouge, le parcours bleu n’en est pas moins exigeant sur le plan technique.
Le parcours bleu a toujours été un concentré de délicatesse et d’exigence. Cependant, ce n’est pas un monument immobile dans le temps. En 2018, Cabell B. Robinson et son équipe de façonneurs ont ajouté une nouvelle touche de complexité.
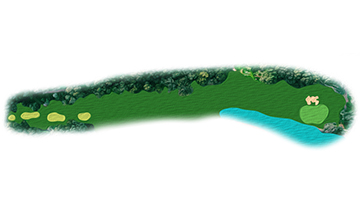
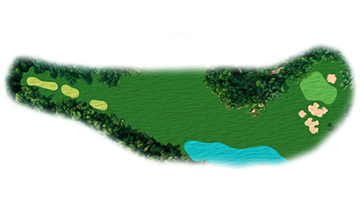
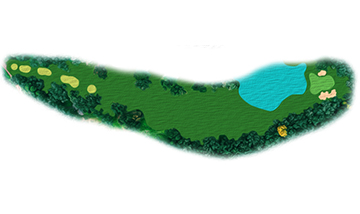
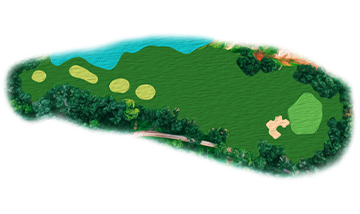
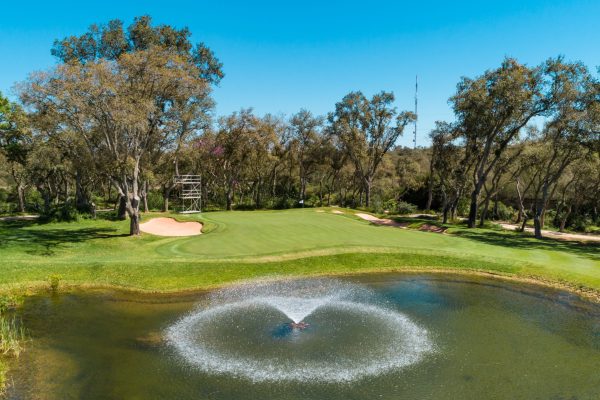
Le trou n°18 du parcours bleu offre un dénouement époustouflant. L’ajout d’un bunker de fairways à gauche et d’un ruisseau sinueux rend ce trou plus qu’imprévisible. Alors que le birdie semble à portée de main, le double bogey, guette à l’ombre, prêt à maintenir le suspense du jeu jusqu’au dernier coup.
Le parcours Bleu du Royal Golf Dar Es Salam, avec son histoire riche et sa capacité à se renouveler, reste un défi passionnant pour les golfeurs du monde entier. Son 18ème trou se tient en attente, prêt à couronner une championne et à révéler les héroïnes de la Coupe Lalla Meryem.